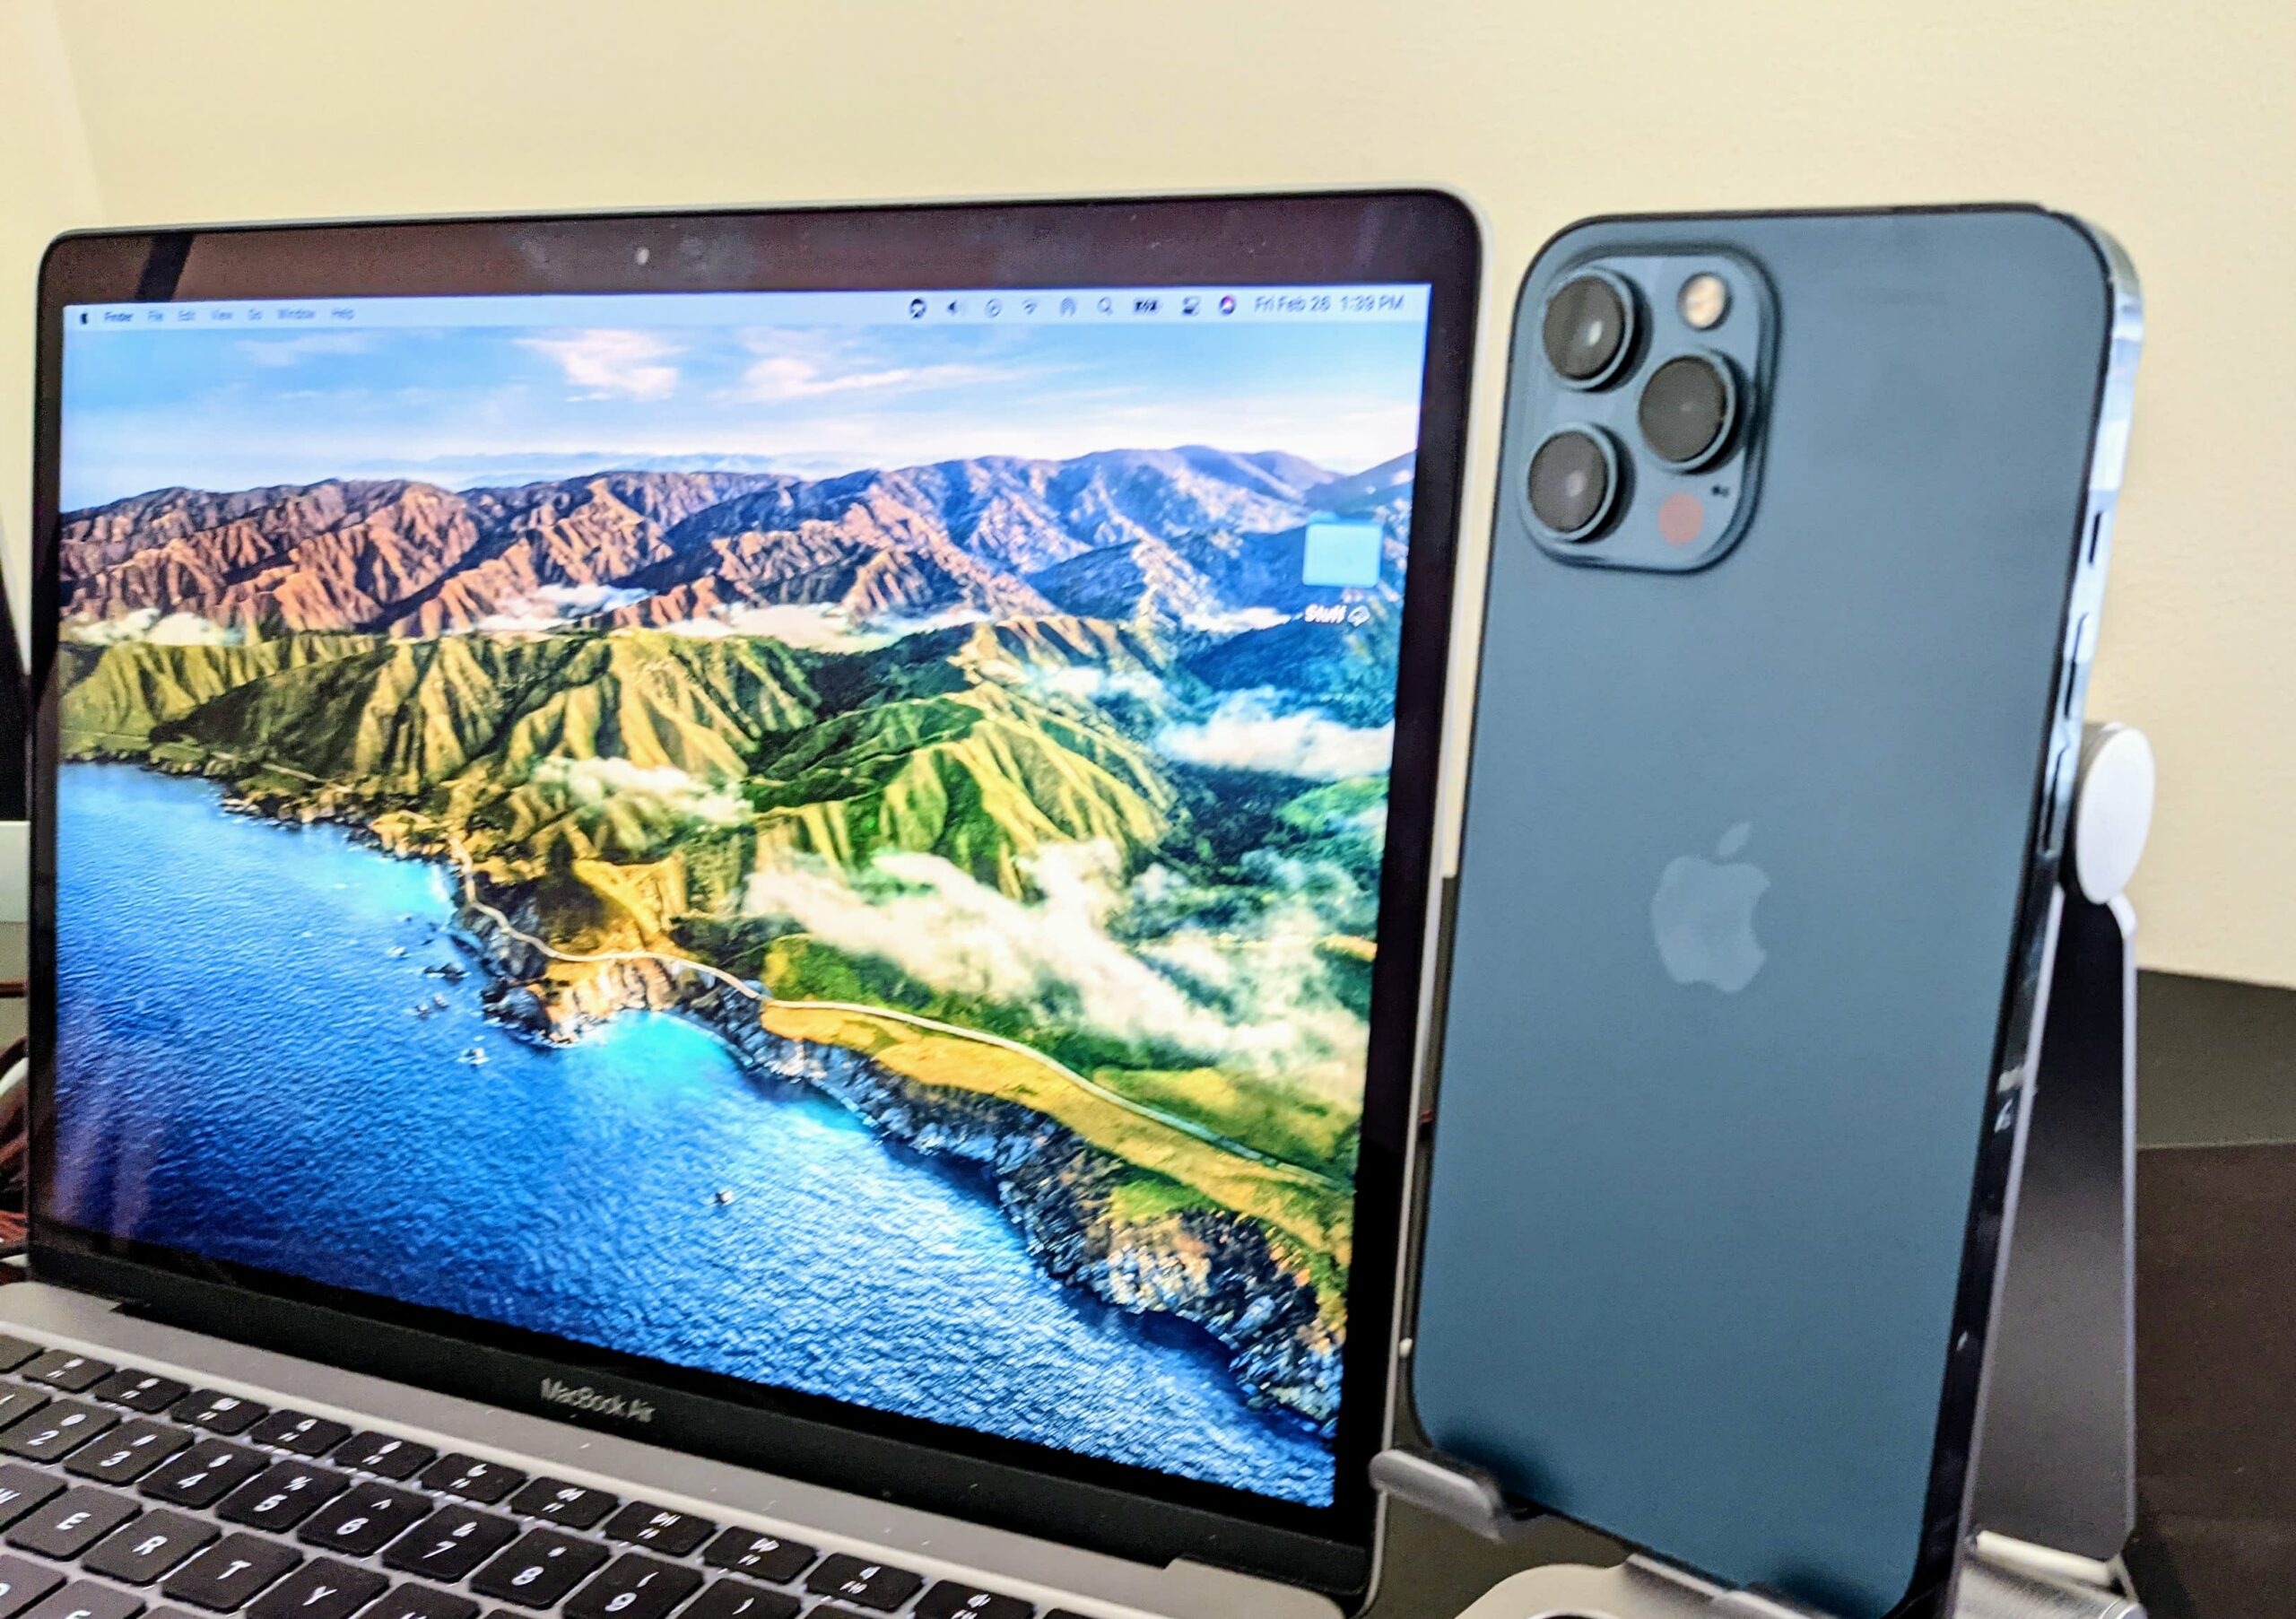
This article will show you how to view iPhone photos on a Mac without importing them.
The “view photos on macbook without importing” is a process that has been made simple through the use of third-party apps. These apps allow users to view iPhone photos on their Mac without importing them into iPhoto or Photos.

Isn’t it incredible that almost everyone nowadays has more images in their back pocket than anybody in the past has ever had in their whole life? A photograph’s worth has always been high, regardless of when it was shot. When you have numerous devices, having them all synced together makes it so much simpler to manage, access, and control your photographs.
“iCloud Images” settings must be enabled on all Apple devices, including an iPad and a MacBook computer, in order to view photos from an iPhone on other Apple devices. This will sync the photographs and videos together, enabling you to access the material from any device without having to download it.
Accessing all of your stuff across all of your devices is a snap after you’ve tweaked your settings to your liking. You’ll never have to worry about importing, downloading, or emailing your own images again.
How to Change iCloud Preferences
Apple makes it simple to customize your gadgets to your own preferences, allowing you to operate things your way. To see and access all of your pictures, videos, and other material from various devices, you’ll need to make changes to your iCloud Photos settings on each device.
iPhone
To change your iPhone’s iCloud settings, go to Settings > iCloud > iCloud > iCloud > I
- Open the Settings app on your phone.
- Select your name and/or picture from the drop-down menus.
- Select “iCloud” from the drop-down menu.
- Select “Photos” from the drop-down menu.
- Make “iCloud Photos” glow green by turning it on.

Other Devices and/or MacBook
To change the iCloud settings on your MacBook or other Apple devices that you want to sync, follow these steps:
- Open the Photos app on your phone.
- Select “Photos” from the drop-down menu.
- Select “Preferences” from the drop-down menu.
- Select “iCloud” from the drop-down menu.
- With the blue tick, enable “iCloud Photos.”
It’s vital to remember that if you sync all of your devices via iCloud, any changes you make to any of the images on any of those devices will affect all of the photos on all of the other devices.
Do not assume that removing or editing a picture on your MacBook will automatically erase it from your iPad and iPhone. There are no duplicates or copies of the photographs and movies on the other devices. Those photographs are the originals, so don’t make any adjustments you’ll come to regret later. (Source)
How to View Photos from iCloud on Other Devices
If you have a mix of Apple and non-Apple devices and want to view your photographs and information on non-Apple devices, you can do so just as effortlessly from anywhere! Every Apple user has an Apple ID, which is used to maintain track of their information, payments, content, and identifications across all of their Apple devices.
With an Apple ID, you may access all of your personal information and material from any device, including Windows computers, using your account and content. This protects your precious information and critical objects safe and secure exclusively for you.
To see your iPhone images on a non-Apple device, follow these steps.
- Go to icloud.com to get started.
- Sign in if you already have an Apple ID.
- Create an Apple ID if you don’t already have one, then sign in.
For individuals who have an iPhone but also have other devices that aren’t MacBook Macs, this makes things a lot easier. This is particularly useful if you have lost, damaged, or broken your device and need to retrieve your information, photographs, or videos in the unfortunate event of an accident or emergency.
Using iCloud does not provide you with an endless amount of storage. You will get a message or email when your iCloud account’s storage space is running low or has reached its maximum capacity. You may either free some storage by eliminating things you no longer need or upgrade to gain extra space at that time.
In any case, Apple will tell you ahead of time so you don’t go on vacation without realizing you’ve run out of storage capacity to record your travels.
Importing Content to a MacBook and Other Devices
The iCloud sync is ideal for folks who want their material to be available on all of their devices. But what if you simply want a few photographs and movies on your MacBook, iPad, or other non-Apple device? If this is the case, you’ll have to go through the procedure of importing and downloading each picture separately.
MacBook

To transfer material from your iPhone, iPad, or iPod Touch to your Macbook, follow these steps:
- Using a USB cord, connect your gadget to your MacBook computer.
- On your computer, open the Photos app.
- Automatically, an Import screen should display. If that’s the case, choose the photographs you’d want to import and then click “Import.”
- If the Import page does not show, go to the Photos sidebar and click on your device’s name. You may need to use your password to open your smartphone. Tap Trust if you’re prompted to “Trust This Computer.”
- In the “Import To” drop box, choose where you want your photographs to go.
- Choose the photographs you want to import and then click “Import Selected” or “Import All New Items.”
PC (Windows)
You’ll need iTunes 12.5.1 or later to transfer material from your iPhone, iPad, or iPod Touch to a Windows PC. You’ll also need to download your images on your Apple device in their original and full quality.
- Using a USB cord, connect your gadget to the computer.
- If your device requires it, enter your passcode to unlock it.
- On the computer, press the “Start” button.
- To access the Photos app, click “Photos.”
- Then choose “From a USB Device” from the “Import” menu.
- Choose the objects you want to import and where you want them saved.
- If prompted, choose “Trust This Computer” or “Allow.”
If you’re having trouble downloading or moving your material to a new device, go to either the Apple Support site or the Microsoft Support site, depending on your situation.
Watch This Video-
The “browse iphone file system” is a feature that allows you to view your iPhone photos on Mac without importing them.
Frequently Asked Questions
How do I view Photos from iPhone on Mac without downloading?
A: Unfortunately, it is not possible to view photos from your iPhone on a Mac.
How do I stop my Mac from automatically importing Photos?
A: To stop your Mac from automatically importing photos, open up the Photos app and select Preferences. From there you can turn off Importing Automatically by selecting it in the General tab of preferences or uncheck Import pictures when memory is low if this option exists.
How do I open my iPhone Photos on my Mac?
A: You can open your iPhone photos on a Mac by doing the following. On your computer, go to Finder > Go > Open Disk Utility from the menu bar and select Photos in iOS Device from under Devices at the top of the screen. A window will pop up telling you that there are no photos for this device (youll need to plug it in if you have an iphone). Click Continue without signing into iCloud then click Select Folder. Finally press Choose Folder and choose where you want to save your pictures.
Related Tags
- viewing photos on mac
- how to view photos from sd card on mac
- view icloud photos on mac
- browse iphone files on pc
- how to view photos on flash drive as slideshow